
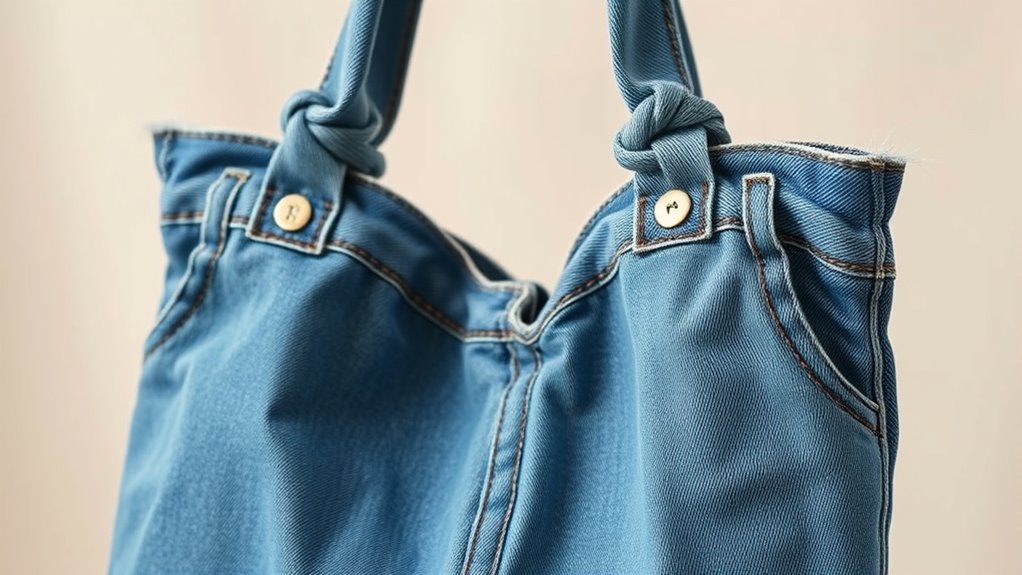
To create a chic denim tote without a sewing machine, start by selecting sturdy jeans with interesting details. Cut out the main panels and handles, then use fabric glue or strong adhesive along the edges to assemble everything securely. Fray the edges for a trendy look and attach decorative patches or embellishments for personalization. Reinforce stress points with additional fabric or glue, and finish with a clean, stylish edge. Keep exploring to discover more tips for a perfect upcycled tote.
Key Takeaways
- Use sturdy denim from jeans, cutting fabric strips or panels with sharp scissors for precise, fray-friendly edges.
- Assemble the tote by bonding denim pieces with high-quality fabric glue, avoiding sewing altogether.
- Create handles by folding denim strips, securing with glue, and fraying edges for a stylish, raw look.
- Personalize with patches, embellishments, or decorative accents glued or attached without sewing.
- Reinforce stress points and edges with fabric strips or interfacing for durability and a polished, upcycled finish.
Gathering Materials and Preparing Your Jeans
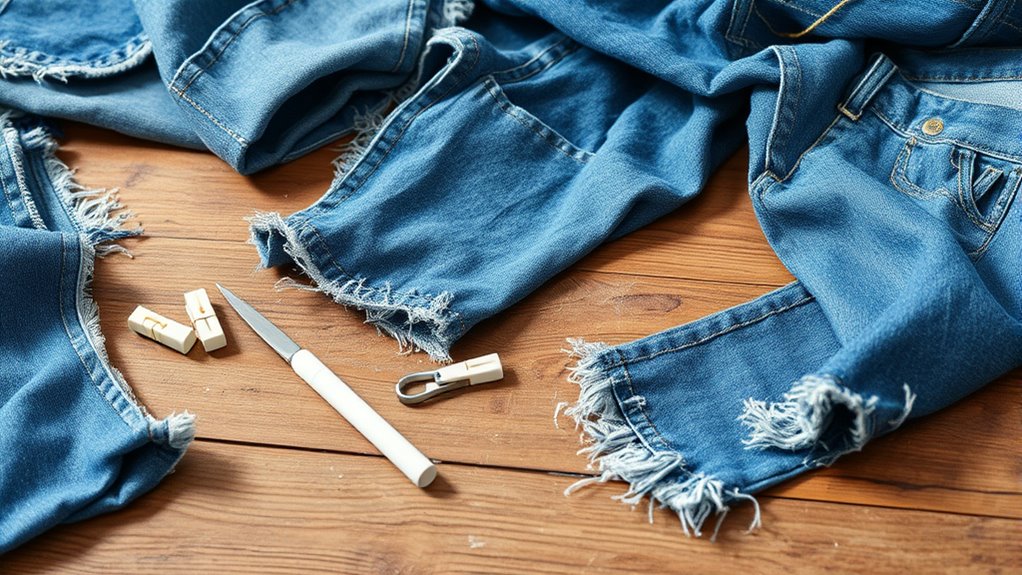
Before you begin transforming your jeans into a stylish tote, you’ll need to gather the right materials. Start with your fabric selection—choose sturdy, quality denim that can withstand daily use. Look for jeans with interesting details or unique washes to add personality to your tote, drawing inspiration from your upcycle ideas. Make sure the jeans are clean and free of tears or heavy wear in areas you plan to use. You might want to gather a few pairs if you need extra fabric or different shades for contrast. Have a pair of sharp scissors ready for cutting, plus some fabric clips or pins to hold pieces in place. With the right materials and a clear upcycle inspiration, you’re set to create a trendy, eco-friendly tote. Additionally, selecting jeans with durable construction can help ensure your tote lasts through regular use.
Cutting the Main Pieces of Your Tote

Start by carefully marking your cutting lines on the fabric to guarantee accurate pieces. Pay attention to handling the fabric edges smoothly to prevent fraying. This step sets the foundation for a clean, professional-looking tote. For added durability, consider applying a pimple patch to areas prone to wear or stress before assembling your tote. Incorporating natural materials like linen or denim can enhance the rustic charm of your tote and improve its longevity. Additionally, ensuring precise cutting techniques helps achieve cleaner edges and a more polished final product. Being mindful of juice extraction methods can also inspire creative ways to upcycle fabrics and design unique accents for your tote. Utilizing automation’s capabilities in cutting and assembly can further streamline your project for efficiency and consistency.
Marking Cutting Lines
To guarantee your tote comes out perfectly, begin by clearly marking the cutting lines on your jeans. Use a fabric marker or chalk to create pencil guidelines along the edges of your pattern. This assures precise cuts and helps you stay on track. Visualize your fabric as you mark each section, like this:
| Top Section | Middle Panel | Bottom Strip |
|---|---|---|
| Pencil guidelines | Fabric marking | Pencil guidelines |
| Marking the edges | Guiding your cut | Marking the edges |
| Clear lines | Accurate cutting | Clear lines |
| Final check | Confirm lines | Final check |
Additionally, understanding the fabric type can help you choose the right tools and techniques for cleaner cuts.
Handling Fabric Edges
Once you’ve marked your cutting lines, it’s time to handle the fabric edges carefully. To achieve a clean, stylish look, you can leave the edges raw for a trendy, frayed finish or prevent fraying by applying a simple finish.
- Use scissors to cut along your lines precisely, avoiding jagged edges.
- For a natural frayed edge, leave the fabric unhemmed and gently pull threads after cutting.
- To prevent fraying, consider applying fabric glue or double-sided tape along the edges before cutting, ensuring a tidy raw finish.
- Choosing a preppy dog name that reflects a refined aesthetic can also add a touch of sophistication to your project.
- If you want to ensure your tote stays looking neat over time, understanding how to manage fabric edges is essential for a polished final product.
- Additionally, using a proper finishing technique can help maintain the integrity of the raw or sealed edges during use, especially when handling different types of fabrics.
- Being aware of the methods for preventing fraying can help you select the best approach based on your desired look and durability needs.
- Incorporating techniques from sound healing science such as specific vibrations can subtly influence the fabric’s texture and longevity, offering a unique approach to fabric care.
Handling fabric edges properly guarantees your tote looks polished or intentionally distressed, depending on your style. Whether you prefer the rugged charm of frayed edges or a smooth raw finish, managing the edges carefully makes all the difference.
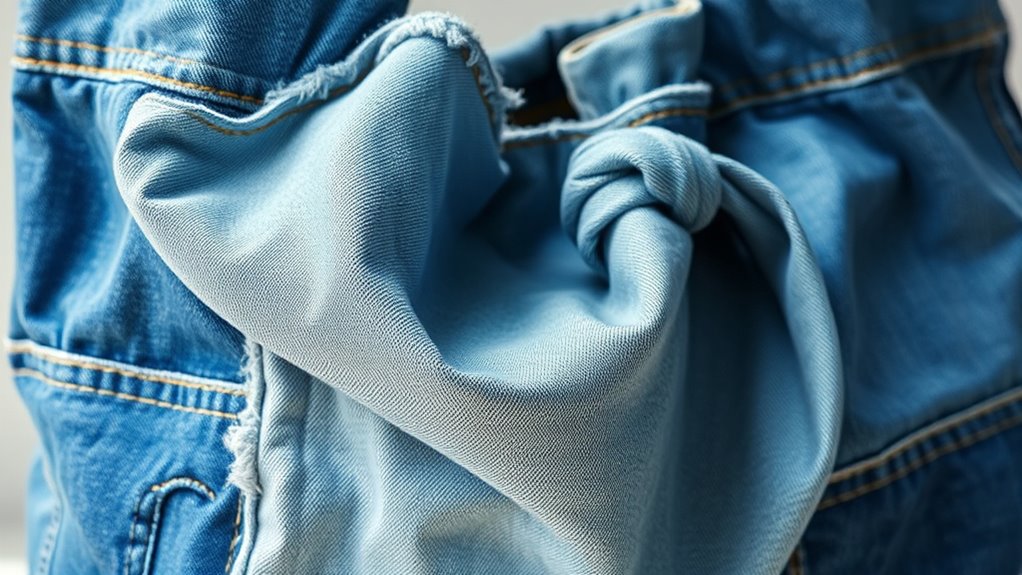
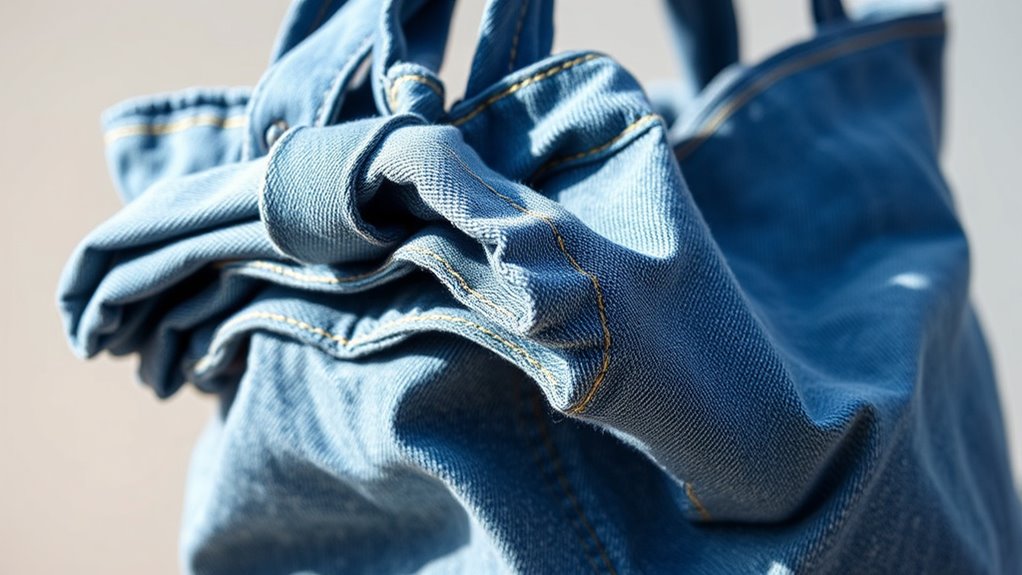
Creating the Handles Without Sewing
Creating the handles without sewing is straightforward and requires just a few simple steps. Start by cutting two strips of denim from the old jeans, about 2-3 inches wide and as long as you want your handles. To make stitchless handles, you can fold each strip in half lengthwise and press with an iron for a clean fold. For no sew straps, use a strong adhesive or fabric glue along the edges to secure the fold. Press firmly and let the glue dry completely. Once dry, attach the handles to your tote by applying more glue at the points where you want them secured. These stitchless handles or no sew straps provide a sturdy, stylish finish without the need for sewing.
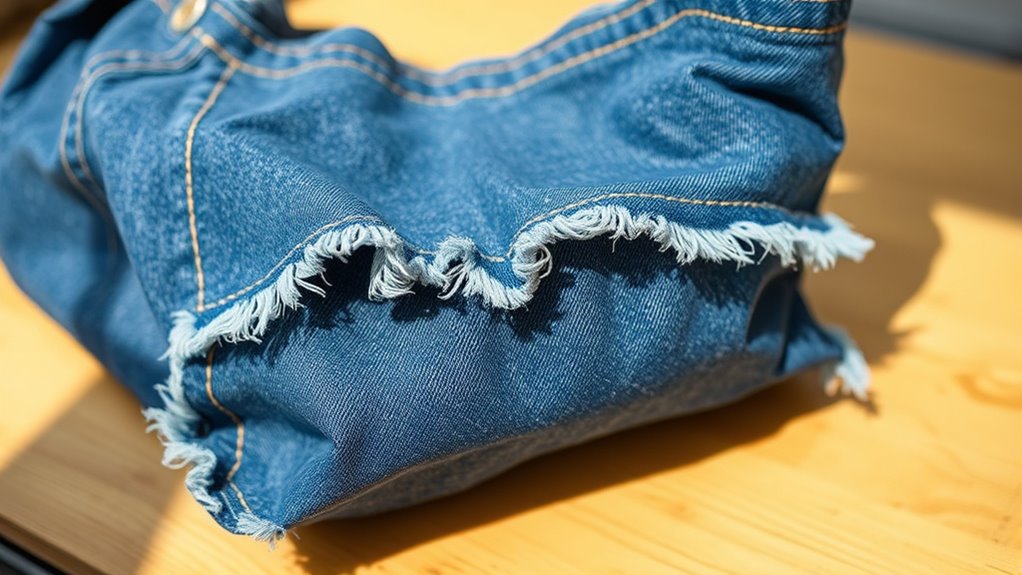
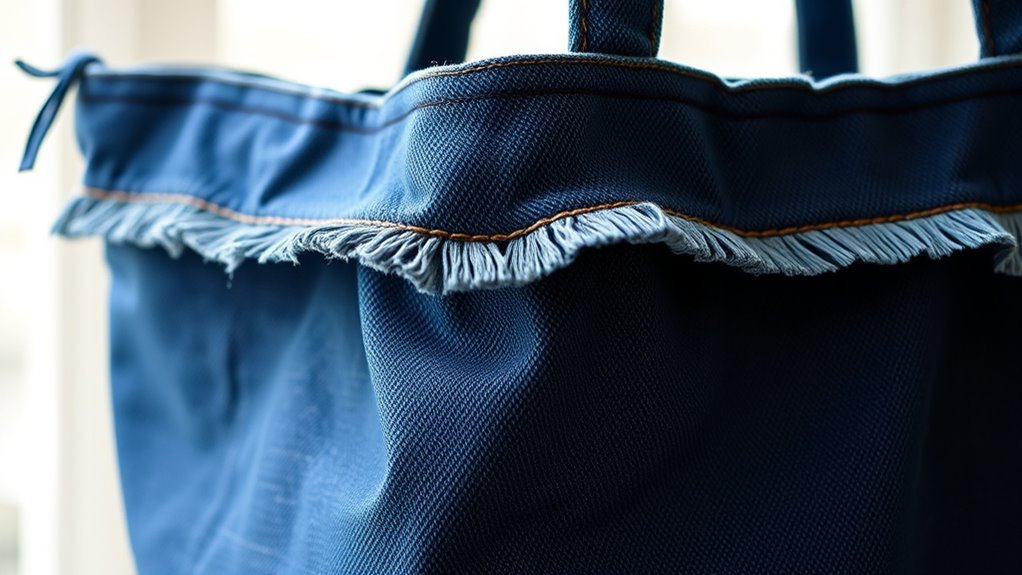
Fraying the Edges for a Stylish Finish

After attaching your handles, it’s time to give your tote a trendy, worn-in look by fraying the edges. This step enhances the distressed denim style and adds a raw edge that’s both fashionable and unique. To achieve this, gently pull at the fabric threads along the edges, creating a natural fray. You can also use scissors to slightly trim loose threads for a cleaner finish. The frayed edges give your tote a casual, vintage vibe, perfect for everyday use. Remember, the goal is to make it look intentionally distressed without overdoing it. This simple technique transforms your upcycled jeans into a stylish accessory with minimal effort.
- Use tweezers or pliers to pull loose threads for a natural fray
- Trim uneven threads for a tidy, distressed look
- Focus on the edges to emphasize the raw edge style
Assembling the Body of the Bag Using No-Sew Techniques
Start by cutting and shaping your fabric pieces to match your tote design. Then, apply fabric adhesive along the edges to secure the pieces together without sewing. This no-sew method keeps your project simple and gives your bag a clean, professional look. Be sure to choose a strong adhesive suitable for fabric to ensure durability. Additionally, selecting an appropriate bonding technique can help improve the overall strength and longevity of your tote. Using a proper surface preparation can also enhance the bonding process and result in a more reliable hold. Incorporating quality fabric can further ensure your tote is both stylish and sturdy.
Cutting and Shaping Fabric
To shape your denim tote without sewing, begin by carefully measuring and marking the fabric. This step guarantees your bag has the desired size and shape. Pay attention to fabric patterns and color coordination, choosing pieces that complement each other for a cohesive look. Use sharp scissors to cut along your markings precisely, avoiding frayed edges. Keep these tips in mind:
- Select fabric with interesting patterns or textures for visual appeal
- Match denim shades for a balanced, stylish appearance
- Cut sturdy strips or panels that fit your tote’s design
- Remember to secure textiles without damage by using techniques such as folding over edges or employing no-sew adhesive options for extra stability. Additionally, considering the organization of your workspace can help maintain safety and accuracy during cutting. Proper workspace organization can also help prevent accidents and ensure cleaner cuts, especially when working with sharp tools like scissors. Incorporating knowledge about keto diet tracking can inspire you to plan your workspace efficiently, just as proper planning improves your sewing project.
Furthermore, taking the time to prepare your workspace ensures that your project remains organized and efficient, leading to better results.
Securing With Fabric Adhesive
Using fabric adhesive is an effective way to assemble your denim tote without sewing, ensuring a clean and durable bond. Apply fabric glue along the edges where the pieces meet, pressing firmly to secure. This method works especially well when attaching decorative patches, which add a personalized touch. For best results, use a high-quality fabric glue designed for denim and allow it to dry thoroughly. To help visualize, here’s a quick comparison:
| Feature | Fabric Glue | Sewing |
|---|---|---|
| Ease of use | No sewing skills needed | Requires sewing experience |
| Drying time | Quick, within a few hours | No drying time, but takes longer |
| Flexibility | Keeps fabric flexible | May stiffen fabric |
| Durability | Strong, waterproof bond | Usually long-lasting |
| Ideal for patches | Perfect for attaching decorative patches | Not suitable without sewing |
Additionally, choosing the right adhesive can make a significant difference in the strength and longevity of your project. For added security, consider using a fabric sealant after the glue has dried to enhance waterproofing and durability.
Adding Additional Features or Decorations

Adding additional features or decorations can transform your denim tote from simple to stylish. You can personalize it with embellishment ideas or decorative accessories that reflect your personality. For example, attach colorful patches or fabric flowers to make it stand out. Consider adding a row of rhinestones or sequins along the edge for a touch of sparkle. You might also sew or glue on decorative buttons or charms for extra flair. These touches give your tote a unique look and turn it into a statement piece. Just make certain your embellishments are securely attached and suited to the denim fabric. Incorporating vibrational energy into your creative process can help attract positive attention and make your tote even more special. With a little creativity, your upcycled tote will become a fashionable accessory that’s truly one of a kind.
Reinforcing the Tote for Strength and Durability
Once you’ve decorated your denim tote to reflect your style, reinforcing it guarantees it will last through daily use. Start by adding fabric reinforcement along the handles and bottom edges, which are prone to wear. Use strips of sturdy fabric or interfacing, securing them with fabric glue or double-sided tape. For seam strengthening, focus on the shoulder straps and side seams. Apply extra layers of fabric or iron-on seam tape along these areas to prevent fraying and tearing. Press firmly to ensure adhesion. This added reinforcement boosts durability without complicated sewing. By carefully reinforcing key stress points, you’ll prolong the life of your upcycled tote and keep it looking chic and functional through regular use.
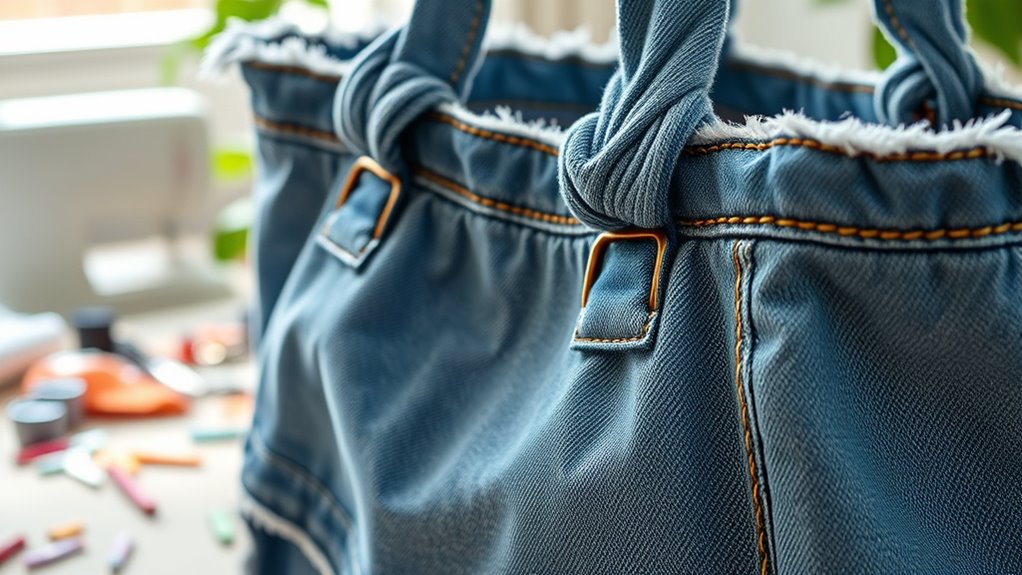
Final Touches to Achieve a Polished Look
To give your denim tote a polished finish, focus on refining its details and ensuring all elements look cohesive. Check the belt loops and tighten or straighten them for a clean, uniform appearance. Add decorative patches strategically to enhance style without overwhelming the design. Smooth out any creases or uneven edges for a sleek, professional look. Consider trimming loose threads and reinforcing areas that might be weak. You can also attach a sturdy, attractive handle or strap to elevate its overall look.
- Secure loose belt loops with fabric glue or double-sided tape
- Place decorative patches symmetrically for balance
- Tuck in or trim frayed edges for a neat finish
Tips for Maintaining and Using Your Denim Tote
Proper maintenance guarantees your denim tote stays looking fresh and lasts through daily use. To keep it in top shape, follow simple care tips like avoiding overloading it and cleaning it gently with a damp cloth. When not in use, store your tote in a cool, dry place to prevent mold or fading. Consider folding it neatly or hanging it on a hook to maintain its shape. If your tote gets stained, spot clean immediately to prevent permanent marks. For added longevity, avoid exposing it to harsh sunlight for prolonged periods. Storage ideas like using a breathable fabric bag or placing it in a drawer also help protect your tote from dust and damage. With proper care and thoughtful storage, your denim tote will remain stylish and functional for years.
Frequently Asked Questions
Can I Use Different Types of Jeans for This Project?
Yes, you can use different types of jeans for this project. Just consider fabric strength and style variations, as lighter or stretch jeans may be less durable but offer unique looks. Heavier, sturdier denim provides more structure, making your tote more durable. Mixing fabric types adds style variations, giving your tote a personalized touch. Just verify the jeans are clean and free from damage for the best results.
What Tools Are Essential Besides Scissors and a Lighter?
Imagine transforming your jeans with just scissors and a lighter, but don’t forget other tools. Besides those basics, you’ll need fabric glue to secure edges and attach decorations, plus a hole punch to create handles or embellishments. These tools make your project easier and more durable, giving your tote a professional finish. With just a few extra supplies, you can craft a stylish, functional bag without sewing.
How Do I Ensure the Tote Holds Heavier Items Securely?
To make sure your tote holds heavier items securely, focus on reinforcing seams by folding and taping them with strong fabric glue or double-sided tape. You can also add closures like snaps, buttons, or a sturdy drawstring to keep things in place. These steps help prevent tearing and guarantee your tote stays reliable, even with heavier loads. Just take your time, and your tote will be both stylish and functional.
Is It Possible to Add Pockets or Compartments Without Sewing?
Yes, you can add pockets or compartments without sewing by using creative pocket placement. Try using fabric glue or iron-on adhesive for securing small compartment options like cardholders or coin pockets. You can also repurpose existing jean pockets by carefully detaching and attaching them in new spots with no-sew techniques. Just guarantee the placement is practical and accessible, creating a functional and stylish denim tote with personalized pocket options.
How Do I Clean and Care for the Finished Denim Tote?
You might worry about damaging your denim tote, but proper care makes it simple. To keep the fabric safeguarded, hand wash it gently in cold water and avoid harsh detergents. Using gentle washing techniques helps preserve the color and shape. Air dry the tote to prevent shrinkage or damage. Regular cleaning keeps your tote looking fresh and ensures it stays durable, so you can enjoy it for years.
Conclusion
Now, your upcycled denim tote is ready to carry your world with style and purpose. Just like the rebels and dreamers before you, you’ve transformed something old into something new and meaningful. Every frayed edge and sturdy handle echoes your creativity and resilience. As you step out with your chic, eco-friendly bag, remember that you’re part of a movement—a modern-day rebellion against waste, echoing the timeless spirit of innovation and renewal.