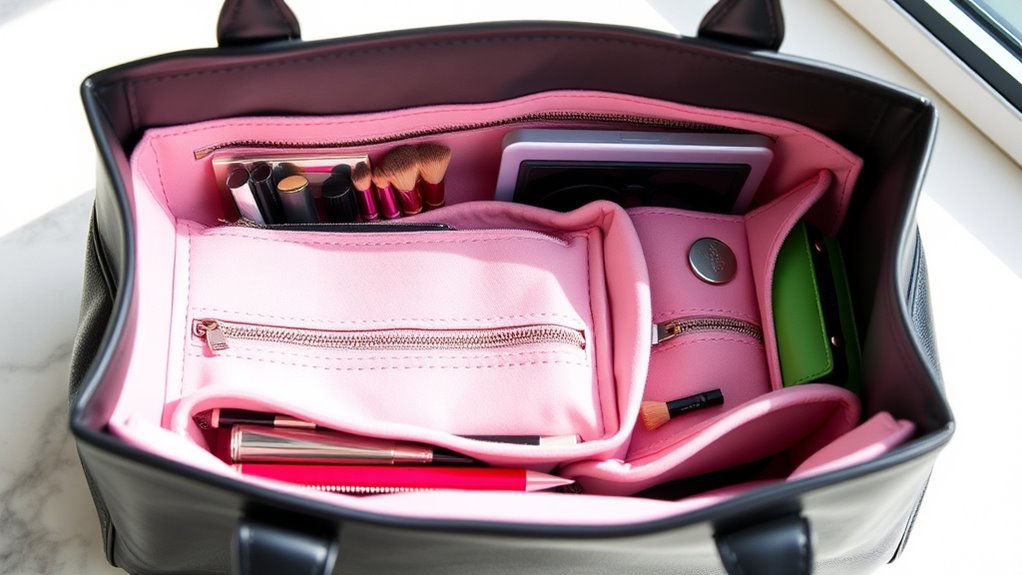

To create a DIY purse organizer insert, start by measuring your bag’s interior dimensions for a snug fit. Choose durable, flexible fabrics like lightweight cotton or canvas, and cut your pieces accurately. Sew double-stitched seams with a straight stitch, reinforce stress points, and finish raw edges with binding. Add interfacing or padding for extra structure. Pay attention to details and proper techniques to guarantee your insert is both functional and stylish—exploring each step reveals how to craft the perfect organizer.
Key Takeaways
- Measure your purse’s interior dimensions accurately to cut fabric pieces that fit snugly.
- Select durable, flexible fabrics like lightweight cotton or canvas, and consider adding interfacing for structure.
- Sew double-stitched seams, reinforce stress points, and finish raw edges for durability and a professional look.
- Include compartments or pockets as needed, using padding or interfacing to maintain shape.
- Keep your workspace organized and take precise measurements to ensure a well-fitting, stylish organizer insert.

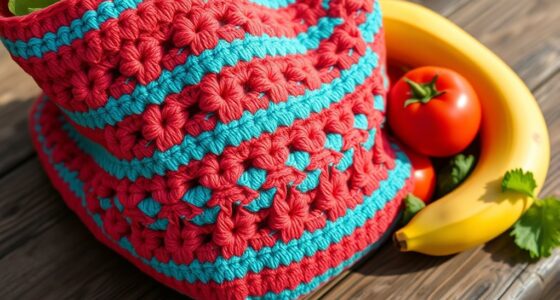
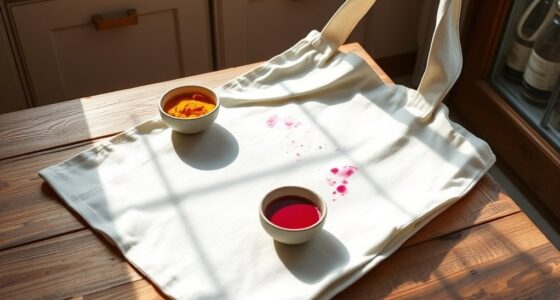
A DIY purse organizer insert is a practical way to keep your bag tidy and make your everyday essentials easily accessible. When starting this project, one of the most important decisions you’ll make is selecting the right fabric. Your fabric choice should balance durability, flexibility, and style. Lightweight cotton or canvas fabrics are popular because they’re sturdy enough to hold shape but still flexible enough to slide smoothly in and out of your bag. If you want a more luxurious feel, consider using quilting cotton with a soft lining or even a waterproof fabric for added protection against spills. Think about matching or contrasting colors to personalize your insert, and choose fabrics that coordinate with your bag’s interior or your wardrobe.
A well-chosen fabric ensures your DIY purse organizer is durable, flexible, and stylish.
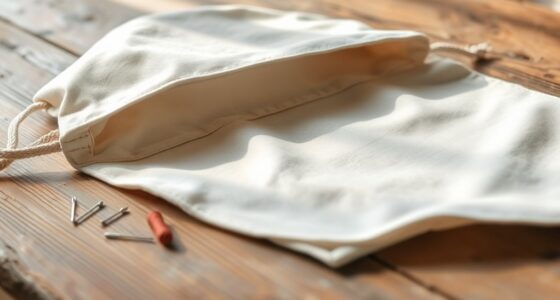
Once you’ve picked your fabrics, focusing on sewing techniques will guarantee your insert is both functional and long-lasting. Start by measuring your bag’s interior dimensions carefully—width, height, and depth—so your organizer fits snugly without being too tight or loose. Use sharp scissors to cut your fabric pieces precisely, including pockets or compartments if you plan to add them. When sewing, double-stitched seams add strength, especially around high-stress areas like pocket edges or corners. Use a straight stitch for most seams and consider adding a zigzag stitch or serging on raw edges to prevent fraying. If you’re new to sewing, a basic sewing machine will be sufficient, but hand-stitching can also work for smaller details or reinforcement.
Pay attention to seam allowances; a ¼-inch allowance is typical for most projects and gives your seams enough strength. When attaching pockets or dividers, press the seams flat with an iron for a crisp finish that helps everything stay in place. To improve durability, reinforce stress points with extra stitches or bar tacking. Additionally, consider using interfacing or lightweight batting between fabric layers for added stability—this is especially helpful if your organizer has multiple compartments or needs to keep its shape over time. If you want a cleaner look, finish raw edges with bias tape or binding, which also helps prevent fraying. Incorporating appropriate interfacing can significantly enhance your organizer’s structure and longevity.
Throughout the process, keep your workspace organized and take your time with each step. Accurate measurements, careful cutting, and precise sewing techniques will result in an organizer that not only looks great but also withstands daily use. Remember, choosing the right fabric and mastering sewing techniques are key to creating a purse insert that truly meets your needs. With a little effort, you’ll have a custom-made organizer that keeps your essentials in order and makes your daily routines more effortless.

Lckaey Purse Organizer Insert for Longchamp, Premium Felt Long Champ Le Pliage Handbag Organizer Large beige
Bag organizer Size:Small:7.68" (Width) x 5.31" (Depth) x 7.48 "(Height) ,fits the small size of short handle of...
As an affiliate, we earn on qualifying purchases.
Frequently Asked Questions
What Materials Are Best for a DIY Purse Organizer?
You should choose sturdy fabric options like canvas, denim, or reinforced felt for your DIY purse organizer insert. These materials provide durability and structure. For adhesive types, use fabric glue or double-sided tape to guarantee the compartments stay in place. You might also consider adding interfacing for extra support. With the right fabric and adhesive, you’ll create a functional, long-lasting organizer that keeps your purse tidy and your essentials easy to find.
How Do I Measure My Purse for an Insert?
To measure your purse for an insert, first, find the purse dimensions by measuring the length, width, and height inside the bag. Use a flexible ruler or tape measure for accuracy. Consider how much space you want for your items and add a little extra for comfort. When choosing your material, verify it’s sturdy yet flexible enough to fit well without damaging the purse’s interior.
Can I Customize the Size of the Organizer?
Absolutely, you can customize the size of your organizer to fit like a glove. Think of it as tailoring a suit to your unique silhouette—size adjustment and customization options let you craft a perfect fit. You can add or subtract compartments, tweak dimensions, or choose materials that match your style. With a little creativity, your organizer becomes a personalized masterpiece, designed precisely for your purse and your lifestyle.
How Durable Are Homemade Purse Inserts?
Homemade purse inserts can be quite durable if you choose fabric with good strength and wear resistance. By selecting sturdy materials like canvas or reinforced nylon and sewing with strong stitches, you guarantee your insert withstands daily use. Properly constructed, it resists tearing and deformation over time. So, with thoughtful material choices and solid craftsmanship, your DIY purse insert will remain durable and functional for a long time.
Is Sewing Necessary for All DIY Organizer Projects?
Do you really need sewing skills for every DIY organizer project? Not always. Some crafting techniques, like using fabric glue or elastic bands, can replace sewing for simple projects. But if you want a sturdy, polished finish, sewing is often necessary. Consider the project’s complexity and your comfort level with sewing. Are you willing to learn new skills, or will alternative techniques suffice? The choice depends on your goals and patience.

ZTUJO Purse Organizer Insert, Felt Bag Organizer with Metal Zipper, Handbag & Tote Shaper, For Speedy Neverfull Tote, 7 Sizes(Medium, Beige)
💗NEW MATERIAL & ZIPPER DESIGN: Felt Purse Organizer with High quality and New Materials are made of Sturdy...
As an affiliate, we earn on qualifying purchases.
Conclusion
Imagine your purse as a busy city street—cluttered and chaotic. With your DIY organizer insert, you’re like a skilled city planner, creating order from chaos. Once I made one for my own bag, it felt like finding a lost treasure—everything in its place, easily accessible. Just like a well-organized city, your purse will run smoother and feel more inviting. Take control, and enjoy the peace of a tidy, functional space every day.

LEXSION Felt Purse Bag Organizer Insert with zipper Bag Tote Shaper Fit Speedy Neverful PM MM 8021 Beige M
SIZE OF BAG ORGANIZER: Medium: 9.25(L)*5.9(H)*5.1(W) inch Fits Speedy 30 Perfectly. Slender Medium: 11.2(L)*6.5(H)*3.2(W)inch Fits Graceful PM. Large:...
As an affiliate, we earn on qualifying purchases.

Hobo Bags for Women Soft Vegan Leather Shoulder Handbag Slouchy Tote Purses (Orange-brown)
Effortlessly stylish and comfortable, our Soft and Slouchy Hobo Bag is the perfect companion for work, travel, or...
As an affiliate, we earn on qualifying purchases.