
To make a no-sew clutch from a scarf, choose a lightweight fabric with an interesting pattern or texture. Fold the scarf into a rectangle, then tuck the sides in to form a pouch, securing with a sturdy knot at the top. You can twist the fabric into a rope shape and knot the ends for a polished look or add accessories like brooches for extra flair. Keep exploring for more handy tips to customize your chic, no-sew clutch even further.
Key Takeaways
- Fold the scarf into a rectangle, then tuck or knot the sides to create a no-sew clutch shape.
- Twist the scarf into a rope and tie the ends for a secure, seamless clutch.
- Use decorative accessories like brooches or belts to personalize and enhance the no-sew design.
- Incorporate textured or patterned scarves for a stylish, no-sew clutch suitable for various occasions.
- Select lightweight fabrics and appropriate sizes to ensure the clutch is easy to fold and maintains its shape.
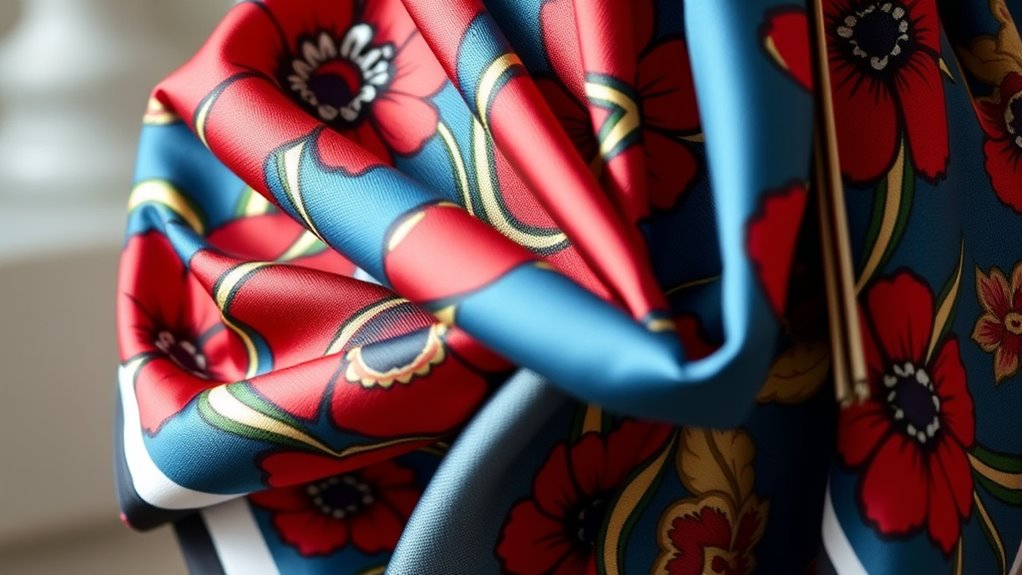
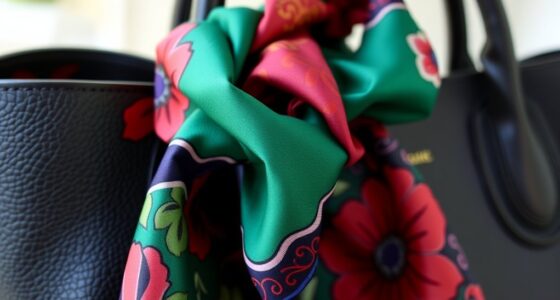
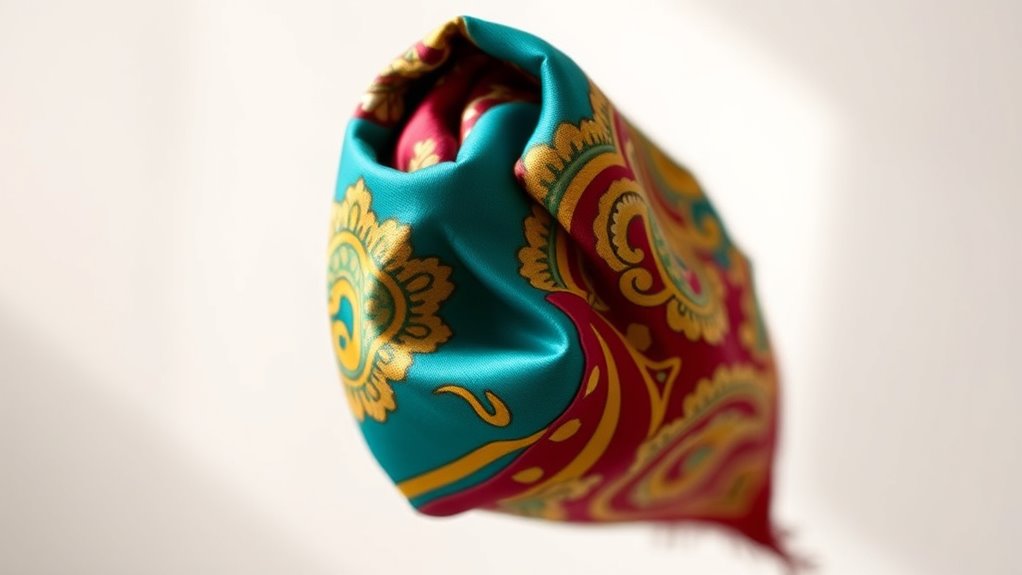
If you’re looking for a quick and stylish accessory, making a no-sew clutch from a scarf is an easy project you can complete in minutes. The first step is choosing the right fabric. Your fabric selection sets the tone for your clutch, so pick a scarf that matches your personal style and complements your wardrobe. Lightweight fabrics like silk, chiffon, or cotton are ideal because they fold easily and give a sleek, polished look. If you want a more textured or casual vibe, go for scarves with fringes, tassels, or interesting patterns. Bold prints or bright colors can make your clutch stand out, while neutral tones keep things understated and versatile. When selecting fabric, also consider the size of your scarf—larger scarves give more material to work with, resulting in a bigger clutch, while smaller ones create a compact, elegant bag.
Additionally, understanding the fabric type can help you choose the most durable and suitable material for your clutch, ensuring it holds its shape and lasts through multiple uses. Once you’ve chosen your fabric, the next step is to think about styling tips. Keep it simple by folding the scarf into a rectangle, then fold the sides inward to create a pouch. You don’t need to sew or use any tools—just a sturdy knot or tuck can secure the sides. For a more polished look, you can twist the scarf into a rope-like shape and knot the ends, turning it into a clutch that’s both functional and fashionable. To add a personal touch, consider wrapping a decorative brooch or a belt around the gathered fabric for extra flair. You can also layer your scarf with other accessories, like a thin chain or a charm, to enhance its style. When carrying your no-sew clutch, think about pairing it with outfits that match the fabric’s tone—elegant dresses for evening outings or casual jeans and a blouse for daytime errands. The versatility of a scarf-based clutch allows you to experiment with different looks, so don’t hesitate to try out various folding techniques and accessories until you find what works best for your style.
Frequently Asked Questions
Can I Use Any Type of Scarf for This Project?
You can use most scarf patterns and fabric types for this project, but it’s best to choose lightweight, sturdy fabrics like cotton or silk. Avoid very thick or stretchy scarves, as they can be difficult to work with and may not hold the clutch shape well. Check the scarf’s pattern and fabric type to make sure it will be easy to manipulate and create a sleek, secure clutch.
How Durable Is the No-Sew Clutch Over Time?
Your no-sew clutch’s durability depends on the fabric’s quality and how well you reinforce the seams. If you choose a sturdy scarf with good fabric durability, it will last longer and maintain its shape over time. Keep in mind that material longevity varies, so handling it gently and avoiding excessive weight or friction will help preserve your clutch’s appearance and functionality for months or even years.
What Safety Precautions Should I Take While Making It?
Safety is your top priority, so don’t cut corners. Always wear safety gear like scissors with blunt tips and a thimble if needed. Keep your work area tidy and well-lit to avoid accidents. Think of it as playing it safe; you wouldn’t want a small mistake to turn into a big problem. Take your time, stay focused, and double-check your supplies before starting to guarantee a smooth, injury-free craft.
Can This Clutch Be Customized With Decorations?
Yes, you can definitely customize your clutch with various decoration techniques. Personalization options include adding beads, sequins, ribbons, or fabric paint to make it unique. You might also consider sewing on patches or using hot glue for embellishments. Just make certain your decorations are securely attached and won’t interfere with the clutch’s functionality, so it remains practical and stylish for your use.
Is This Project Suitable for Children to Make?
Making this clutch is a fun, beginner-friendly project for children, but you should prioritize child safety. Think of it as guiding a young artist, providing simple steps and supervision. For example, use safe, age-appropriate tools like fabric glue instead of scissors. With careful guidance and safety measures, children can enjoy creating their own stylish clutch, boosting their confidence and creativity in a safe environment.
Conclusion
Now that you’ve crafted your no-sew clutch from a scarf, you’re ready to turn heads with your stylish creation. It’s a simple project that proves patience pays off, and you don’t need to be a pro to pull it off. Just remember, sometimes you have to think outside the box to create something amazing. So go ahead—show off your new accessory and let everyone see that you can make magic happen with a little creativity!