
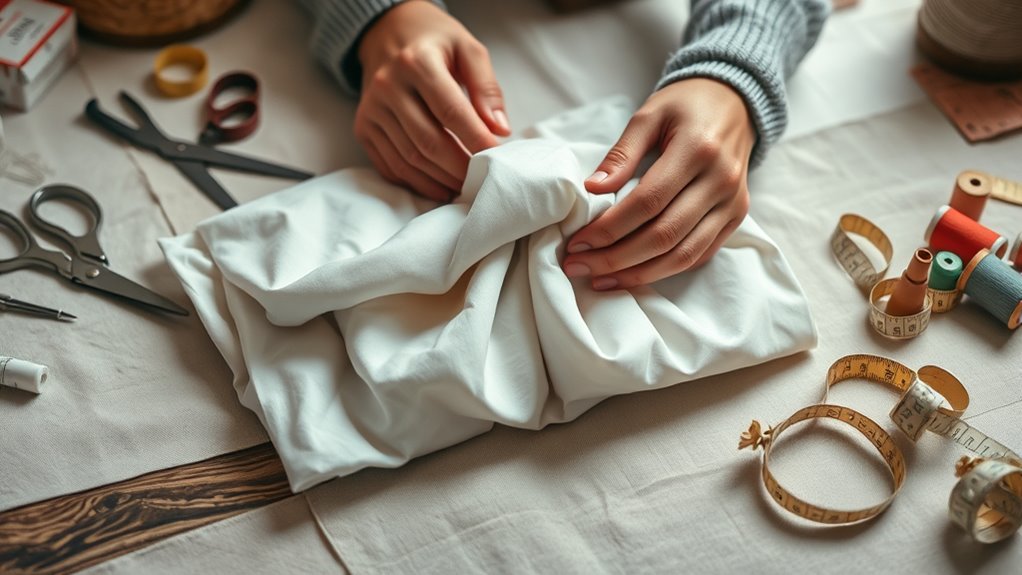
To craft a dust bag at home, start by selecting breathable, durable fabric like cotton and gather essential tools such as scissors, pins, and a sewing machine or needle. Measure and cut your fabric to size, then sew the sides and bottom with straight stitches, ensuring neat edges. Finish the top with a hem and add a drawstring for closure. Proper care extends your dust bag’s lifespan; keep in mind, each step builds a stylish, functional container—learn more as you follow the full process.
Key Takeaways
- Select durable, breathable fabric like cotton and gather essential sewing tools before starting.
- Measure and cut fabric to your desired size, including seam allowances, for a precise fit.
- Sew side seams and bottom using a straight stitch with a ¼ inch seam allowance for durability.
- Finish the top edge, add drawstring holes, and incorporate decorative elements for style and function.
- Store and care for the dust bag properly to maintain its appearance and longevity over time.

FORTIVO 4-in-1 Sandal and Shoe Cleaning Kit for Birkenstock – Premium Care Kit Safe for Leather, Suede, Nubuck & Cork - Includes Sealer, Protector Spray, Cleaner & Brush
Premium Care Kit for Birkenstock Footwear - Mindfully formulated and compatible for birkenstock shoes' materials—suede, leather, nubuck, and...
As an affiliate, we earn on qualifying purchases.
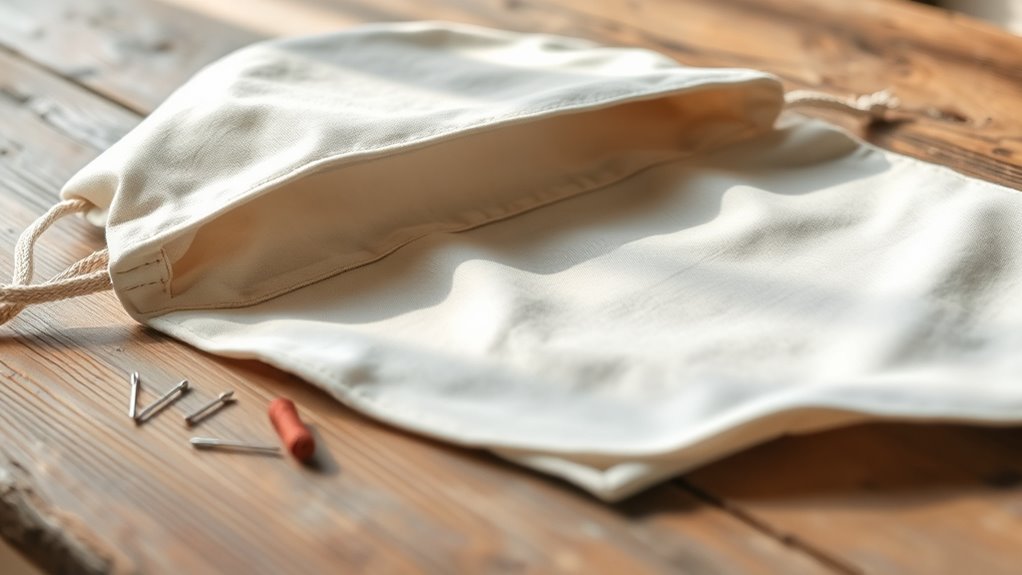
Gathering Materials and Tools

Before you begin making your dust bag, gather all the necessary materials and tools. Start with your fabric selection—choose a durable, breathable fabric like cotton or muslin that can withstand dust and use. Next, gather your tool essentials: sharp scissors, a sewing needle or sewing machine, pins, measuring tape, and chalk or fabric marker. Having these items on hand guarantees a smooth process. Check that your scissors are sharp for clean cuts, and have extra pins ready to hold fabric in place. Keep your sewing machine or needle handy for stitching, and use chalk or a fabric marker for marking measurements. Preparing all your materials and tools beforehand saves time and keeps you focused, making the project more efficient and enjoyable. Incorporating mindfulness into your crafting routine can enhance your attention to detail, ensuring a well-crafted final product. Additionally, being aware of water-resistant fabrics can help you select materials that better protect your belongings from dust and moisture. Familiarity with precious metals can also inspire creative design choices for your dust bag, blending style with functionality. Being familiar with AI-powered tools can also streamline your project, offering innovative ways to customize and perfect your dust bag.

Care & Cool Suede and Nubuck Cleaner Foam Kit (5 oz) - Revitalizes and Refreshes Shoes, Boots, Clothes, and Furniture - Premium Care for All Colors
COMPLETE CARE KIT: The only kit you'll need to extend the life of your valued suede and nubuck...
As an affiliate, we earn on qualifying purchases.
Measuring and Cutting Your Fabric
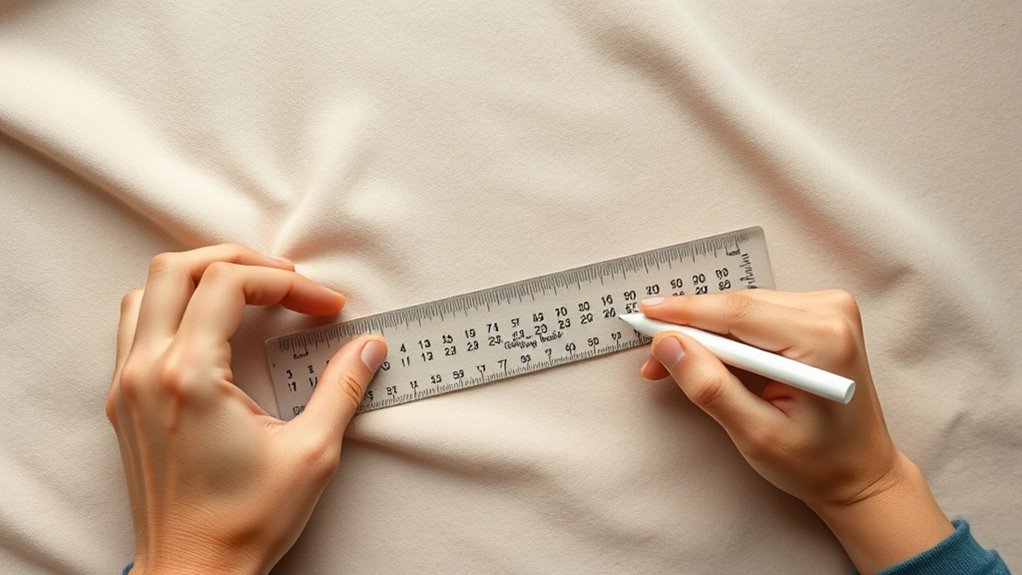
With your materials and tools ready, it’s time to measure and cut your fabric accurately. Start by choosing a fabric pattern you like, making sure it complements your storage solutions. Lay the fabric flat on a clean surface, smoothing out any wrinkles. Use a ruler or measuring tape to mark the dimensions needed for your dust bag, typically around 12×16 inches, plus seam allowances. Carefully cut along your markings with sharp scissors, making sure your cuts are straight. Precision here ensures your dust bag will fit perfectly and look neat. Accurate measurements prevent waste and help you get the most out of your fabric. Additionally, understanding different fabric types can affect your cutting technique and the durability of your dust bag. Considering the benefits of proper measurement can help you achieve a more professional result. Incorporating knowledge about industry trends and their influence on design choices can inspire more innovative and trendy dust bag styles. Taking your time now results in a professional-looking finished product that keeps your storage solutions organized and stylish.
Amazon Product B08RS9VNDH
As an affiliate, we earn on qualifying purchases.
Sewing the Dust Bag Sides and Bottom
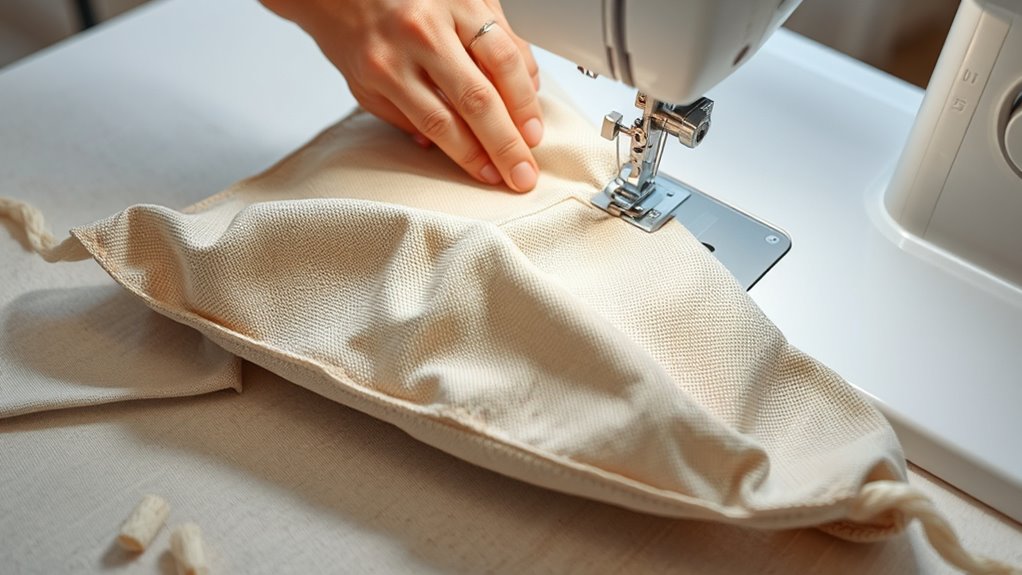
Once your fabric pieces are cut, it’s time to sew the sides and bottom of your dust bag. Start by choosing the right fabric selection—sturdy cotton or canvas works best. Use appropriate sewing techniques, like sewing with a straight stitch ¼ inch from the edge, to make sure durability. To do this effectively:
- Pin the side seams, right sides together, to keep fabric aligned.
- Sew along the pinned edges, maintaining a consistent seam allowance.
- Repeat this process for the bottom seam, ensuring all edges are secure.

Tidybond Suede Cleaner Kit – Premium Shoe Cleaner for Suede & Nubuck Shoes, Boots, Bags, Purses & Furniture – Safe, Non-Toxic Formula with Brush & Towel – Removes Stains, Salt & Dirt – 200ml
RESTORES SUEDE & NUBUCK TO LIKE-NEW CONDITION - Powerful yet gentle foam suede cleaner lifts away dirt, salt...
As an affiliate, we earn on qualifying purchases.
Adding Finishing Touches and Drawstrings
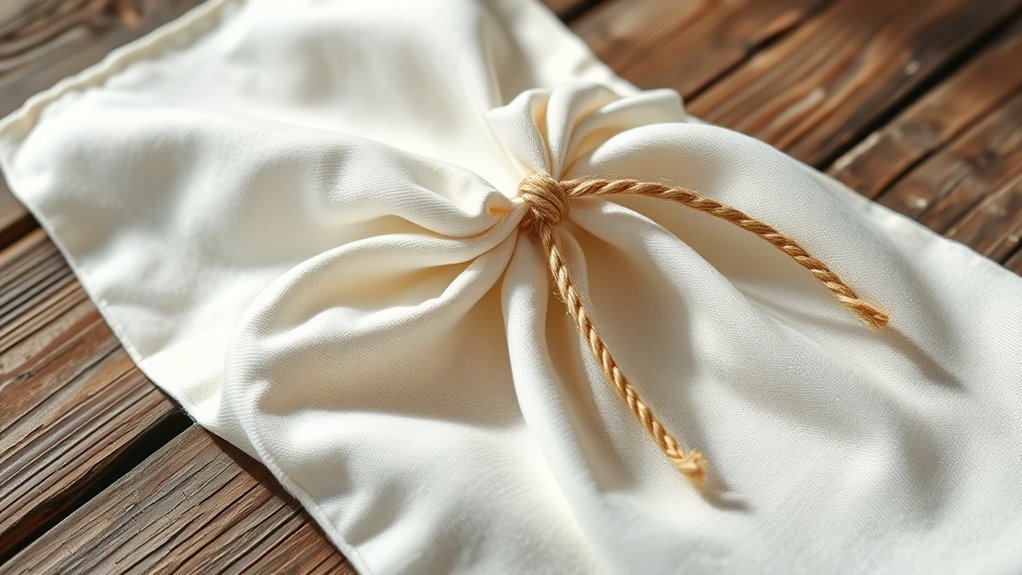
To give your dust bag a polished look and functional finish, it’s important to add the final touches, including hems and drawstrings. Start by folding the top edge inward to create a clean hem, then sew it in place for a neat appearance. To enhance the bag’s style, consider adding embellishing details like decorative stitching or fabric trims along the hemline. When attaching the drawstring, create small reinforced holes or eyelets at the top edges to thread it through easily. Adding decorative elements, such as contrasting cord colors or charming tassels, can also elevate your design. These finishing touches not only improve the appearance but also guarantee your dust bag is sturdy and functional for everyday use. Additionally, understanding the payment processing of loved ones can help you feel more confident in your crafting projects and personal endeavors. It’s also helpful to ensure the stability of your dust bag by choosing durable fabric materials suited for everyday use. Proper selection of materials is essential for longevity and consistent performance over time.
Caring for and Using Your Customized Dust Bag
Taking good care of your customized dust bag guarantees it stays in great shape and continues to protect your belongings. Proper dust bag maintenance ensures longevity and maximum performance. Here are key tips:
- Store it in a cool, dry place away from direct sunlight to prevent fabric fading and deterioration.
- Regularly inspect and clean the dust bag, removing dust or debris with a gentle brush or cloth.
- Avoid overstuffing or forcing items inside, which can distort its shape and reduce effectiveness.
- Be aware of return policies if you need to exchange or return your dust bag or other items, as understanding retailer guidelines can help streamline processes.
- Handling your dust bag with care reduces the risk of damage from cybersecurity vulnerabilities, ensuring it remains functional and reliable over time.
- To further preserve its condition, consider using a dust cover when storing the bag for extended periods.
- Understanding the contrast ratio of your home projector can help you optimize your viewing environment and protect your investment. Regularly checking the material composition of your dust bag can also help identify any signs of wear early on.
Following these storage tips helps preserve your dust bag’s quality and appearance. When not in use, fold it neatly to prevent creases. Treat your dust bag with care to extend its lifespan and keep your belongings protected.
Frequently Asked Questions
Can I Use Any Fabric for My Dust Bag?
You might wonder if any fabric works for your dust bag, but fabric selection really matters. Choose a breathable, lightweight material like cotton or non-woven fabric to keep dust contained without trapping moisture. Make sure you have the right sewing tools, such as a sewing machine, sharp scissors, and sturdy thread. Avoid thick or non-breathable fabrics that could trap dust or make sewing difficult. Proper fabric and tools ensure a durable, effective dust bag.
What’S the Best Way to Clean My Dust Bag?
To keep your dust bag clean, start with the right fabric selection—preferably washable and durable fabrics like cotton or canvas. For cleaning tips, check if your dust bag is machine washable; if so, use gentle cycles and mild detergent. If it’s not, spot clean with a damp cloth and mild soap. Regular cleaning helps maintain its effectiveness and prolongs its lifespan.
How Do I Prevent Sewing Mistakes?
To prevent sewing mistakes, you should focus on adjusting your thread tension and choosing the right fabric. Make sure your tension is balanced so stitches stay even and secure. Select fabric that’s suitable for your project, avoiding overly slippery or thick materials. Test stitch on scrap fabric first, and take your time. This helps you catch issues early, ensuring your dust bag turns out neat and durable.
What Size Should My Dust Bag Be?
Imagine slipping your delicate sewing machine into a perfectly fitted dust bag, snug but not tight. To determine its size, measure your machine’s dimensions and add a few inches for ease. Use lightweight dust bag materials like cotton or non-woven fabric. Keep sewing tips in mind: guarantee seams are sturdy and edges finished. This way, your dust bag will protect your machine while maintaining a sleek, professional look.
Can I Make a Reusable Dust Bag?
Yes, you can definitely make a reusable dust bag. It’s a great eco-friendly storage idea that reduces waste. Use durable, washable materials like cotton or linen for longevity. Reusable dust bags help keep your belongings tidy while being kind to the environment. Plus, they’re customizable to fit your storage needs, making them both practical and eco-conscious. With a little creativity, you’ll have a stylish, sustainable solution in no time.
Conclusion
Now that you’ve crafted your dust bag, you’ll protect your treasures, showcase your creativity, and enjoy the satisfaction of a job well done. With your personalized touch, you’ll preserve your belongings, add charm to your space, and create something uniquely yours. Each stitch, each detail reflects your effort and love. So, embrace the process, cherish the result, and let your handcrafted dust bag be a symbol of your dedication and style.