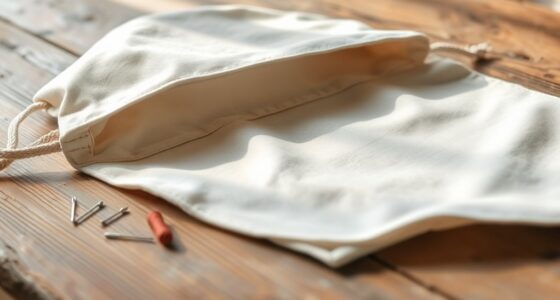

To sew a laptop sleeve with pockets, choose durable fabrics like canvas or denim and wash them beforehand. Sew the main sleeve pieces together, then carefully attach your chosen pockets, reinforcing the top edges and corners for durability. Install a zipper along the opening for secure closure, using a zipper foot for precision. Pay attention to seams and finishes for a sleek look. Keep going to discover detailed steps and tips to create a professional-looking sleeve.
Key Takeaways
- Choose durable, flexible fabrics like canvas or denim, and wash/iron before sewing for best results.
- Measure your laptop to create a custom-fit sleeve and select a zipper slightly longer than the sleeve width.
- Sew a straight seam, attach the zipper with a zipper foot, and align carefully for smooth opening.
- Decide on pocket placement, cut matching fabric, sew edges, and reinforce corners for durability.
- Double-check all seams, reinforce stress points, and finish edges neatly for a professional, long-lasting sleeve.

Sewing your own laptop sleeve with pockets is a practical project that allows you to customize the size and design to fit your needs perfectly. The first step is choosing the right fabric. You’ll want something durable yet flexible enough to protect your device. Canvas, denim, or neoprene are excellent options because they offer good protection and stand up well to daily wear. Consider the weight and texture of the fabric, making sure it’s comfortable to carry and easy to work with. If you want a splash of style, you can opt for printed or patterned fabrics; just keep in mind that heavier fabrics may require stronger sewing techniques. Once you’ve selected your fabric, wash and iron it to prevent shrinkage and guarantee smooth sewing later on. Developing your creative practice through small projects like this can boost your confidence and skills over time.
Next, you’ll need to think about zipper installation, which is essential for creating a secure closure. Choose a zipper that’s slightly longer than the width of your sleeve for easier handling. To install the zipper, start by sewing a straight seam along one side of the opening, then pin the zipper in place, aligning it carefully with the edges of the fabric. Use a zipper foot on your sewing machine to get close to the teeth without damaging the fabric. Sew along both sides of the zipper tape, ensuring it’s securely attached and that the zipper opens smoothly. Take your time to align everything properly, because a well-installed zipper not only looks professional but also functions reliably.
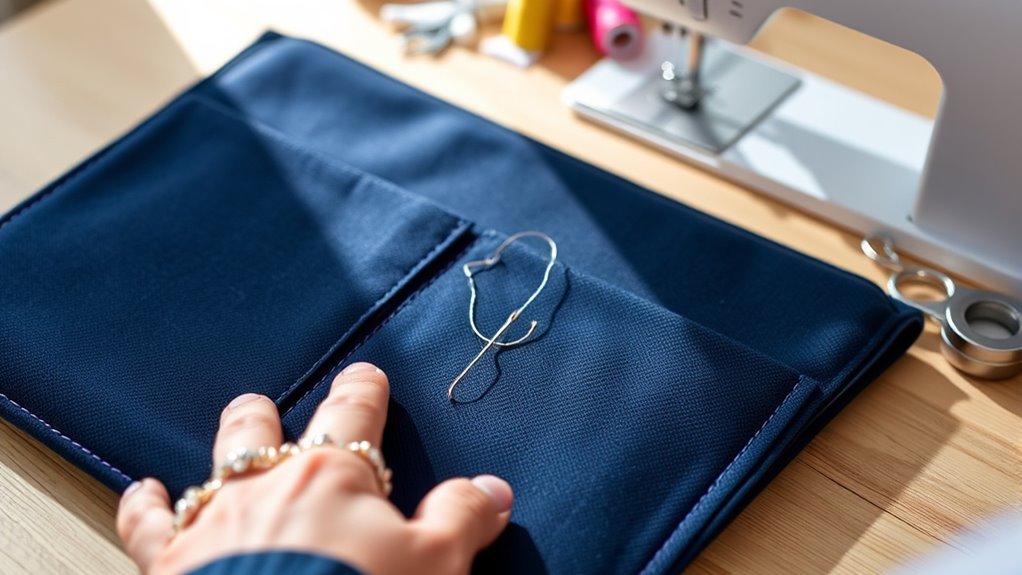
When attaching the pockets, decide where you want them positioned—either on the front or inside the sleeve. Cut your pocket pieces from the same or contrasting fabric, depending on your style preference. Fold the edges of the pockets under and sew a topstitch along the open edge for a clean finish. Secure the pockets onto the main fabric with pins, and then sew around the sides and bottom, leaving the top open. Reinforce the corners with backstitching to prevent tearing from frequent use. This way, you’ll have a sleek and functional laptop sleeve that’s tailored to your specifications. Remember to double-check all seams, especially around the zipper and pockets, to guarantee everything is sturdy and secure. Sewing your own laptop sleeve not only saves money but also gives you a custom, stylish accessory that fits your device perfectly.
Frequently Asked Questions
What Materials Are Best for Making a Durable Laptop Sleeve?
For a durable laptop sleeve, you should choose heavy-duty fabrics like ballistic nylon, Cordura, or thick canvas, known for their fabric durability. Use strong sewing techniques like reinforced stitching and double seams to guarantee longevity. These materials resist wear and tear, providing protection for your device. Combining these fabrics with proper sewing methods ensures a sturdy, long-lasting sleeve that withstands daily use and rough handling.
How Do I Customize the Size for Different Laptop Models?
Imagine slipping your sleek laptop into a perfectly snug sleeve, tailored just for its shape. You can achieve this through custom sizing with adjustable dimensions, measuring your device precisely. Use flexible patterns or add extra seam allowances for different models. By customizing your measurements, you guarantee a secure fit that protects your laptop while maintaining a clean, professional look. It’s all about precision to match each unique device.
Can I Add Insulation for Extra Protection?
Yes, you can add insulation for extra protection. Using insulation materials like foam or batting enhances the insulation benefits, providing shock absorption and cushioning. These materials help protect your laptop from bumps and impacts, making your sleeve more durable. To add insulation, cut the materials to size and sew them between the outer fabric and lining. This simple step boosts your sleeve’s protective qualities without adding much bulk.
What Are Some Alternative Closures Besides Zippers?
Think outside the box when choosing closures for your sleeve. You can opt for magnetic snaps for a sleek, modern look that’s easy to open and close. Button closures add a charming touch and provide a secure fit. These options give your project a personalized flair while keeping your laptop safe. So, don’t be afraid to get creative—sometimes, the simplest solutions pack the biggest punch!
How Do I Reinforce the Pockets for Heavier Items?
To reinforce your pockets for heavier items, use reinforcement techniques like adding a double layer of fabric or interfacing at the pocket openings. Sew heavy-duty stitches along the edges and across stress points to prevent tearing. Consider bartacking at the corners for extra strength. These steps guarantee your pockets can handle weight without ripping, keeping your laptop and accessories secure inside your sleeve.
Conclusion
Now you’ve got this fancy new laptop sleeve with pockets—because who doesn’t need a stylish place for chargers, snacks, or secret snacks? Sure, sewing it might’ve taken some patience, but hey, your laptop’s now safer than your last relationship. Just remember, if your pocket becomes a catch-all, it’s a sign you’ve officially mastered the art of DIY chaos. Congrats, you’re officially a sewing hero—and maybe a bit of a pocket hoarder too.