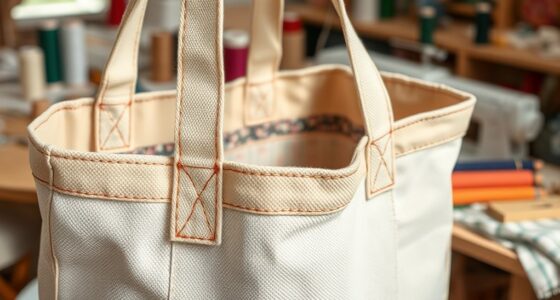
To create a DIY crossbody bag with an adjustable strap, start by choosing durable fabrics like canvas or leather that match your style. Select quality hardware such as D-rings, slide buckles, and rivets to secure and customize the strap length, ensuring they complement your fabric and overall design. Sew your pieces together carefully, attaching the hardware properly for strength and smooth adjustment. Keep exploring for tips on making your bag both stylish and functional.
Key Takeaways
- Select durable fabrics like canvas or leather and coordinating hardware such as D-rings and slide buckles for adjustable straps.
- Cut fabric pieces accurately, then sew them together securely, ensuring proper placement for hardware attachments.
- Attach hardware components, like D-rings and buckles, by sewing or riveting to reinforce durability and support adjustability.
- Thread the strap through the hardware, adjusting length as desired, and secure with stitching or rivets for a polished finish.
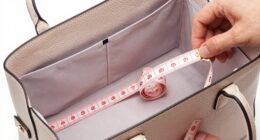
- Finish by checking measurements and hardware placement, then add final touches for a professional, customized look.
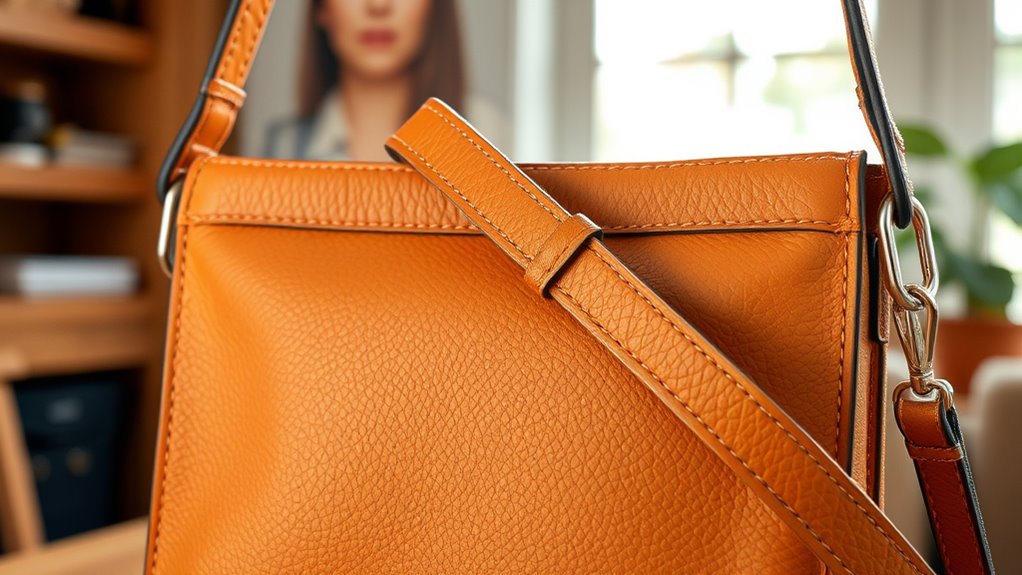
Ever wondered how to create your own stylish and functional accessory? Making a DIY crossbody bag with an adjustable strap is a rewarding project that allows you to customize every detail to suit your style. The first step is choosing the right materials, starting with fabric selection. Your fabric sets the tone for your bag’s look and durability, so pick wisely. For a casual, everyday vibe, consider sturdy cotton or canvas. If you want something more luxurious, leather or faux leather can give a polished finish. Quilted fabrics or patterned textiles can add personality and flair. Think about how much wear your bag will get and choose a fabric that can handle daily use without tearing or fading easily. Keep in mind that the fabric should be easy to work with, especially if you’re a beginner. Once you’ve picked the perfect fabric, look into hardware options. The hardware, including the buckle for the adjustable strap, rivets, or D-rings, not only provides structural support but also adds aesthetic appeal. For the strap adjustment, a slide buckle or a D-ring with a strap keeper works best, giving you the flexibility to change the length as needed. Metal hardware comes in various finishes—brushed, shiny, matte—so select one that complements your fabric and overall design. When shopping for hardware, ensure that the size and weight are proportionate to your bag. Too large or heavy hardware can make the bag cumbersome, while too small might not be sturdy enough. It’s worth investing in quality pieces to ensure longevity and smooth functionality. After your fabric and hardware are chosen, you can begin assembling your bag by cutting the fabric pieces according to your pattern, then sewing them together with a reliable stitch. Attaching the hardware involves sewing D-rings or loops onto the fabric, followed by threading the adjustable strap through the hardware, securing it with rivets or stitches. This process not only makes your bag customizable in length but also adds a professional touch. Throughout the project, double-check your measurements and hardware placement to ensure everything lines up perfectly. Proper hardware selection is crucial for the durability and style of your bag, which is why hardware quality matters. The combination of thoughtful fabric selection and carefully chosen hardware options will give your DIY crossbody bag a unique, polished finish that’s both stylish and functional. When finished, you’ll have a one-of-a-kind accessory that reflects your personal style and craftsmanship, ready to carry your essentials wherever you go.
Frequently Asked Questions
Can I Customize the Bag’s Size and Shape Easily?
Yes, you can easily customize the bag’s size and shape. For bag size customization, adjust the pattern measurements before cutting to suit your needs. For shape modification tips, tweak the folding and sewing techniques—such as adding or removing panels—to create your desired form. Using flexible fabrics and precise measurements makes shape modification straightforward. With some planning, you’ll craft a unique bag that fits your style perfectly.
What Materials Are Best for a Durable Adjustable Strap?
You should choose a durable strap material like nylon webbing, leather, or reinforced polyester for your adjustable strap. These materials hold up well over time and resist wear. For strap adjuster options, consider metal buckles, slide adjusters, or plastic clips—each provides easy length adjustments and secure fastening. Combining a strong strap material with reliable adjuster options guarantees your bag remains comfortable and durable through daily use.
How Do I Prevent the Strap From Slipping?
To prevent slipping during strap adjustment, make sure you use a non-slip material like silicone or rubber on the strap’s adjusting points. Tighten the adjustment securely and consider adding a small amount of fabric glue or heat sealing at the friction points to boost slipping prevention. Additionally, choosing a strap with textured or gripped surfaces helps maintain your preferred length, reducing the chances of slipping over time.
Is There a Recommended Sewing Technique for Reinforcement?
Imagine you’re reinforcing a strap for daily use. To enhance strap durability, use a double line of stitching along the edges, ensuring sewing reinforcement. This technique distributes stress evenly and prevents tearing. Additionally, backstitch at the start and end of your seams for extra strength. This simple approach considerably boosts the strap’s durability, allowing your crossbody bag to withstand regular wear and tear without compromising its design or function.
Can I Add Pockets or Compartments to the Bag?
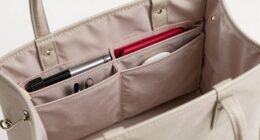
Absolutely, you can add pockets or compartments to your bag. Think about pocket placement—consider interior and exterior options for easy access. You might add a small zippered pocket on the front or inside for valuables, or create compartment options with dividers for organization. Use fabric or interfacing to reinforce pocket edges, ensuring they stay sturdy. Customize your bag to fit your needs by carefully planning where you want each pocket or compartment.
Conclusion
Now that you’ve crafted your own crossbody bag, it’s like stitching together a personal story you carry everywhere. Every cut, stitch, and adjustment adds character and purpose, turning simple materials into a trusty companion. With your creativity and effort, you’ve built more than just a bag—you’ve created a unique piece of art that’s ready to accompany you on countless adventures. Wear it proudly, knowing it’s not just stylish, but a reflection of your handmade spirit.